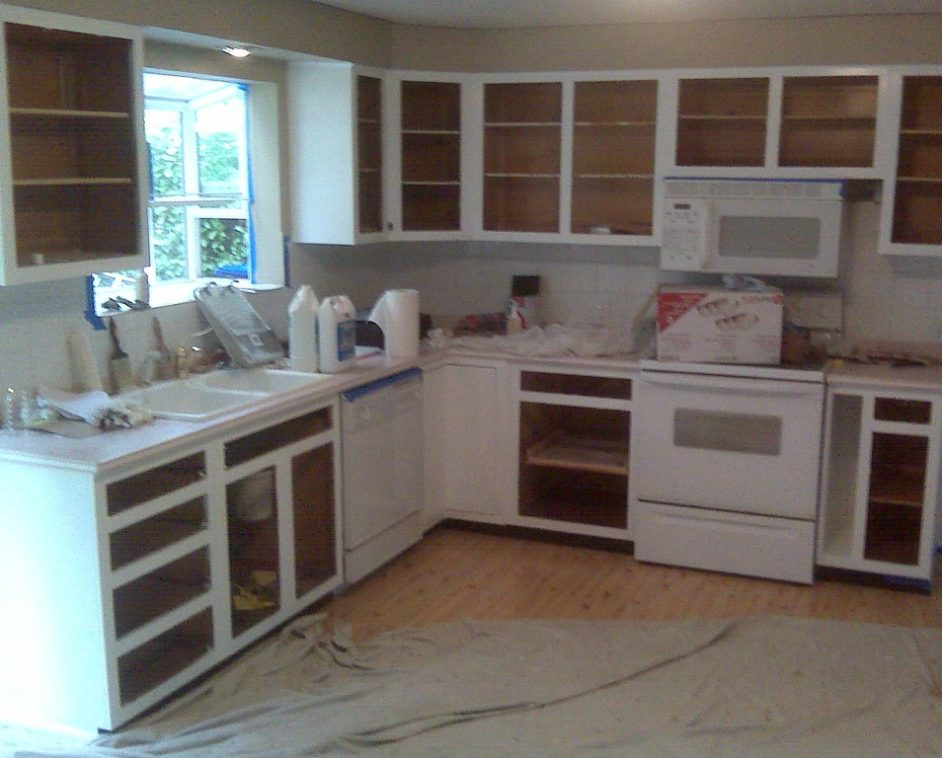
The steps in putting in new kitchen cabinets
A cost efficient option for replacing old Kitchen Cabinets ,stripping and refinishing them will certainly be a less costly alternative for the home project on a small budget. Many cabinet fronts have flat panel doors. Other styles possibly will include several variations of a flat panel. What changes the timber used and the stain colors.
Here are the steps in putting in new kitchen Cabinets
Begin by removing all of the doors
Once the cabinet doors have been removed, carefully take off the hinges and door pulls. You will not have to take down the cabinet boxes from the walls. Before starting the refinishing project, set up saw horses in your garage or work area where you can work without any disturbances. You will want to keep dust from falling on the cabinet doors during the staining project.
Removing the old paint or stain
When using paint stripper, be sure to protect yourself and the kitchen through the project. Wear safety glasses to keep stripper from splashing your eyes. Wear rubber gloves to stop skin contact with the paint remover, and shelter the kitchen areas with old newspapers. Be sure to open the doors and windows for good air movement. While working in the kitchen, open the windows and doors. Put a fan in one of the windows to push the air outdoors when working. Mask off sections of the walls where they touch the sides of the cabinetry
Begin working on one door or cabinet at a time
 Wearing gloves, place the paint remover onto the door. As soon as the remover has bubbled, use the flat of the putty knife to easily scrape the paint off. Cabinetry having only one application of paint or varnish should strip effortlessly. Cabinetry with many layers of paint will need a few applications of remover.
Keep scraping the paint with the scraper, being certain to wipe the paint stripper on a rag or piece of newspaperA toothbrush should help in getting the grooves and corners clean. Next, after the paint or varnish is gone, wipe the wood down with mineral spirits. Make sure to remove all of the strippers and paint off every area.
Begin preparing the wood before applying the stain
You will need a handful of rags and several sandpaper sheets with varying grits. Sanding is performed to remove small areas of paint or varnish and to fix any areas that were harmed. Use the lower numbered grit sandpaper first, usually 80 or 120 to get rid of any paint left. Next, a light sanding with fine sandpaper, usually 220, is the last step to ready the surface. After sanding the cabinets, they should be wiped down with a slightly damp rag then left to dry.
Applying the stain to the cabinet doors is the subsequent step
 You’ll need a brush specifically for stain, stain, gloves, steel wool, mineral spirits, several rags, and a clear sealer., It is important to always read the manufacturer’s application guidelines. The next step is to apply several extra coats, lightly rubbing the stain with steel wool before applying a sealer.
Once the doors and cabinets have been suitably stained and have dried completely, they are ready to be put back together. At this time you may want to switch out the pulls on the kitchen to finish off the new appearance. Clean up the work area and make any necessary adjustments to your cabinets.…